No products in the cart.

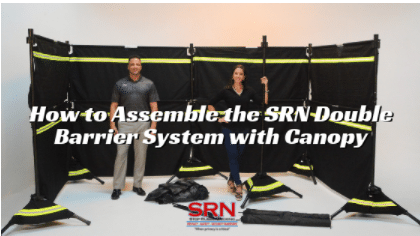
The SRN Double Barrier System with Canopy is one of the best ways to create a barrier to combat weather, privacy in an open area or a comfortable space for people to enjoy. It can handle heavy wind, rain or sunshine. The SRN Double Barrier System with Canopy is the most effective canopy at combating all three elements on the market. It’s durable, can withstand winds up to 30 mph, and offers overhead protection and security. The accompanying video is of SRN Vice President of Sales, Phillip Cannova, assembling the SRN 1000 Barrier System with Canopy.
The best part is that it only takes 10 steps and 10 minutes to assemble. Unlike our premier barrier system that requires only one person for assembly, we recommend using two people to assemble the canopy system.
First, layout each of your components for the double barrier system with the canopy and flex sticks. Doing so will make it easier for you to identify each part.
Position your tripods in a six by six format and extend them up to the red mark. The tripods will serve as the skeleton of the canopy. You can adjust the distance between each tripod as you go.
Now you are ready to connect your bottom barriers. You can identify the bottom barriers from the top barriers by their length. The bottom barriers are taller.
Next, connect your top barriers. If you need assistance connecting your bottom and top barriers, you can follow the same steps outlined in our blog post How to Assemble the SRN 1000 Barrier System. At this step, you can determine how you want your canopy system to be configured and add or leave off barriers accordingly.
Lower the tripods connected to the outer corner top barriers all the way down, leaving the two middle tripods extended up as far as possible. Once your tripods are positioned this way, it is time to assemble the canopy.
First unravel your canopy cover so that it is laying flat on the ground. Extend all three of your flex sticks out. Position the flex sticks so that the two longer stick form an X across the rectangular canopy. Place the shortest flex stick in the middle of the canopy so that it is extended across its width.
Place the flex sticks through the holes on the end of the canopy. Click the flex sticks to the canopy and then secure your middle.
Pick up your canopy with one person on each side standing at diagonal corners from one another.
Attach each corner of the canopy over the top turret of each corner tripod by looping the Velcro over the turret and clipping the canopy to the holes on the tripod. Make sure that all of your Velcro and canopy clips are secured.
The final step is raise your outer tripods up to the red mark again after the canopy is secured down.
The final upside to our canopy system is that it can be configured in a variety of ways. Our turrets allow you to angle the walls of the canopy in any direction. They also allow you to remove or add walls without having to take apart the entire system. The following examples demonstrate three ways you can configure your canopy, but the options are up to your imagination.
Have a question about assembling the Double Barrier System with Canopy or its configurations? Leave a comment below!